Paint fails for a lot of reasons. Peeling at the edges, bubbling after the first summer, color that looks chalky after two years, most of it traces back to what happened (or didn’t happen) before the first coat. Skipping a proper wash is one of the fastest ways to waste money on exterior paint in San Diego.
What’s actually on your stucco
Before you think about color, think about what’s sitting on the surface you’re about to paint.
In San Diego, the answer depends on where you live. Coastal homes in La Jolla, Ocean Beach, and Pacific Beach deal with salt aerosol constantly. That salt doesn’t just sit on the surface, it migrates into the pores of stucco and gets trapped under old paint layers. When you paint over it, moisture follows, and the salt pulls that moisture back through the new coat. You end up with bubbling and delamination within a year, sometimes less.
Inland areas like El Cajon, Santee, and Lakeside face a different problem: fine dust, airborne particulate, and sometimes agricultural residue from Santa Ana wind events. That dust creates a thin barrier between your old surface and new paint. Even if it looks clean to the eye, it’ll cause adhesion failure.
Then there’s biological growth. San Diego’s mild winters and marine layer create ideal conditions for mildew and algae on north-facing walls and under overhangs. Mildew looks like gray or black staining, and it’s not cosmetic, painting over it locks in a food source for continued growth beneath the new coat.
Chalking is the last major culprit. Older paints oxidize over time, leaving a powdery residue on the surface. You can see it by rubbing your hand on the wall. If white dust comes off on your palm, you’ve got chalk. Primer won’t bond to chalk. You have to get it off first.
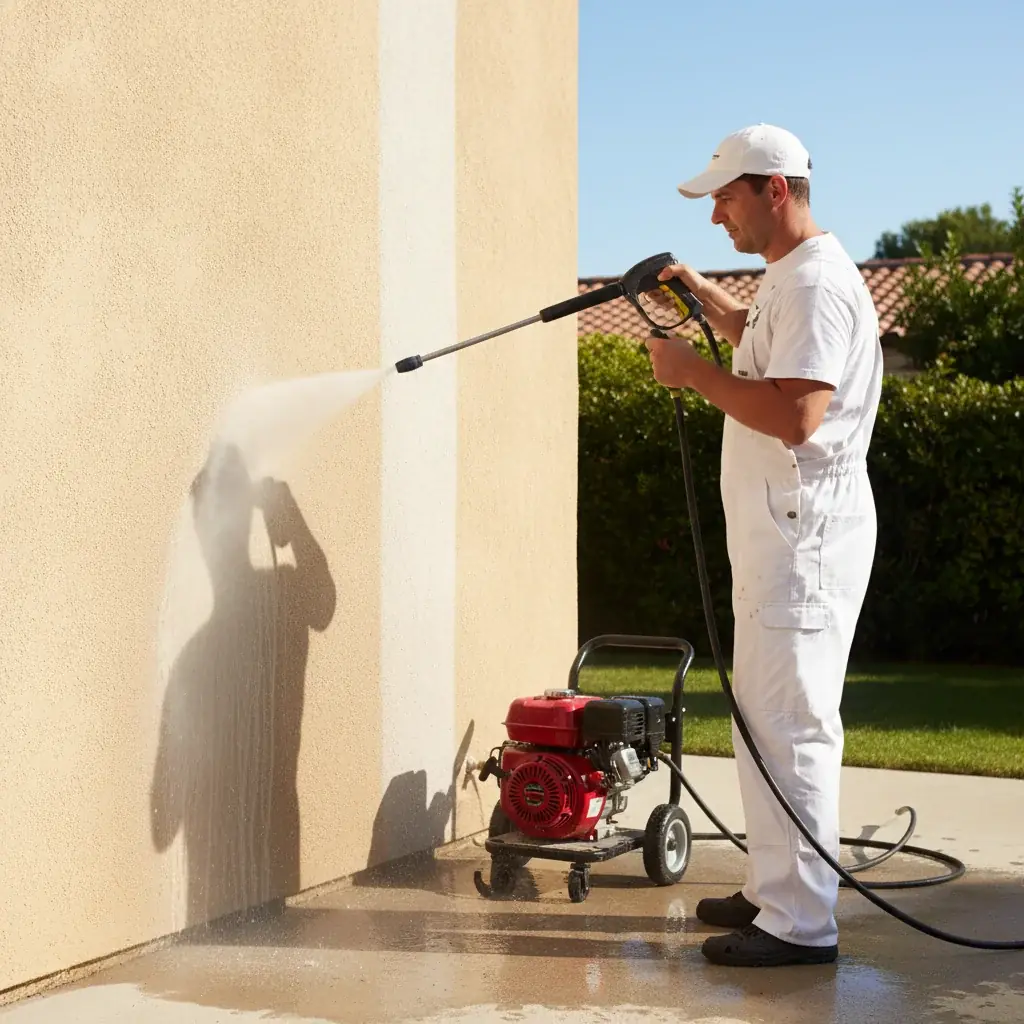
All of this comes off with water, but the pressure, angle, and tip have to match the surface.
PSI and tip size for stucco vs wood vs siding
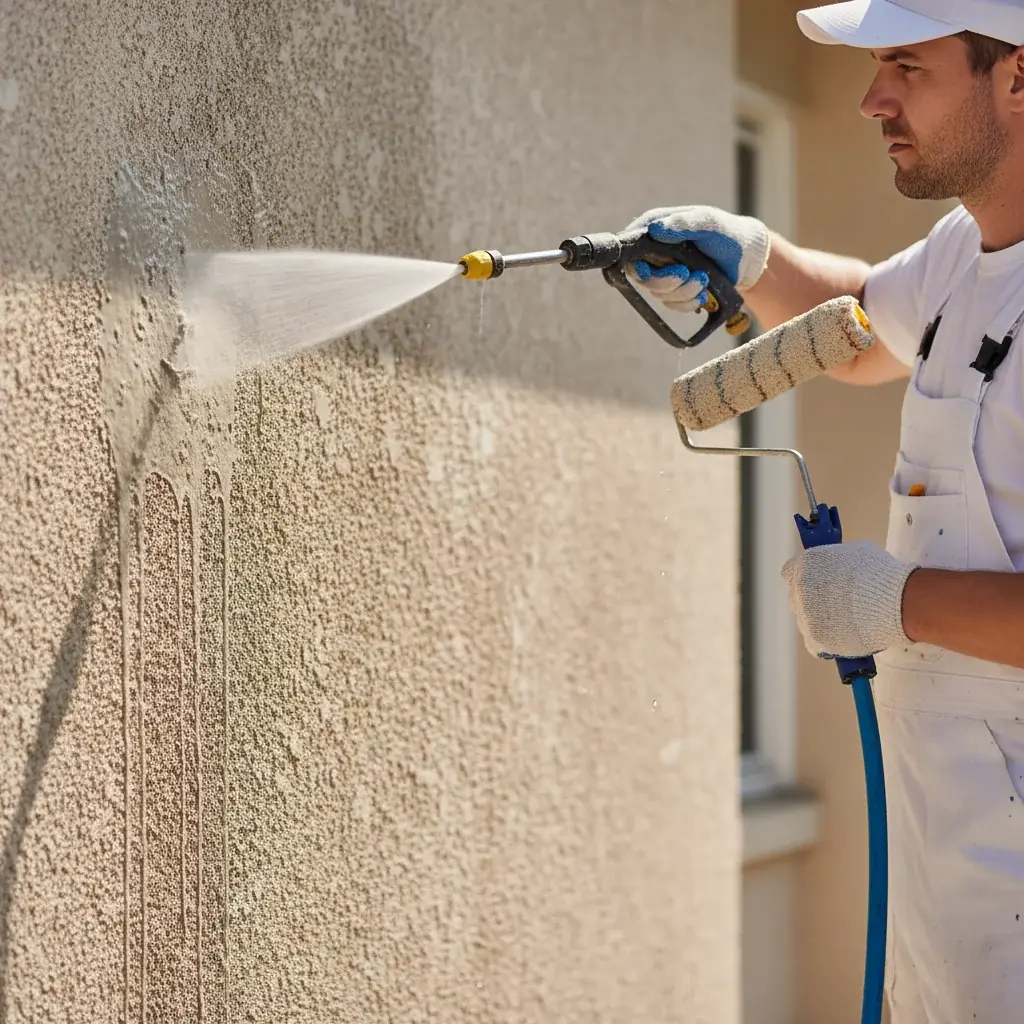
Pressure washing isn’t one setting fits all. Using the wrong PSI or the wrong tip on stucco is how you end up with gouged surfaces or blown-out texture that costs more to repair than the paint job itself.
Stucco
For standard three-coat stucco, which covers most San Diego homes built before 1990, stay between 1,500 and 2,500 PSI. A 25-degree tip (usually color-coded green) delivers a wide enough spray pattern to move surface contaminants without concentrating force on the texture. Keep the nozzle 12 to 18 inches from the wall. Work in consistent horizontal passes, top to bottom, so dirty water runs down and away from the clean section you’ve already finished.
Single-coat and synthetic stucco systems common on newer builds are thinner and more vulnerable. Drop to 1,200–1,500 PSI and stay at the wider end of your nozzle distance.
Wood siding and trim
Wood is more forgiving on PSI, 1,000 to 1,500 works well, but more sensitive to spray angle. Always spray parallel to the grain, never perpendicular. A 40-degree tip (white) is safer here. Water driven perpendicular to wood grain raises the grain aggressively and can force water behind siding, leading to rot and mold.
Fiber cement and vinyl siding
Fiber cement (Hardie board is common in newer San Diego neighborhoods) handles 1,500–2,000 PSI without issue. Vinyl siding is softer, keep it at 1,200 PSI or below and avoid directing the spray upward under panel seams, which drives water into the wall cavity.
If you’re not certain what your siding is, start at the lowest setting and work up. A little extra time washing is cheaper than a repair call.
Dry time before paint can go on
This part is where impatient DIY jobs fall apart. You washed the house. It looks clean. You want to get started.
Wait anyway.
Stucco is porous. It absorbs water during a thorough wash and holds onto it, especially in shaded areas and at the base of walls where soil contact keeps moisture elevated. Applying primer over wet stucco traps that moisture and creates the exact bubbling and adhesion failure you were trying to avoid.
The standard dry window is 24 to 48 hours before primer goes on. In San Diego’s inland valleys during summer, 24 hours is often enough, low humidity and high heat pull moisture out quickly. On the coast, especially in May and June when the marine layer sits low until noon, 48 hours is safer. If you’re working during a stretch of overcast days, check the surface with a moisture meter before committing. Readings above 15% on stucco mean it’s not ready.
Wood takes longer than stucco in high-humidity conditions. After a heavy wash, give bare or lightly painted wood at least 48 hours, more if you’re going into a foggy week.
This dry time is built into every exterior painting job we schedule. It’s not optional, and any painter who washes and primes same-day is cutting a corner that will cost you.
For a full look at what goes into proper exterior prep on stucco surfaces, the exterior paint prep guide for San Diego stucco covers what comes after the wash, patching, priming, and sealing before color goes on.
When pressure washing damages more than it cleans
There are situations where pressure washing does more harm than good, and knowing them upfront saves a repair bill.
Cracked stucco is the big one. If your walls already have hairline cracks or larger fractures, high-pressure water drives straight into them. That moisture sits in the substrate and expands the crack from the inside as temperatures shift. If you see cracking, the right move is to repair it first, then wash. Our stucco painting and repair service addresses this as a pre-paint step.
Old single-pane windows with failing glazing compound are also vulnerable. Pressure at those seals forces water into the frame. If your home has original windows, tape plastic sheeting over them before washing or keep the nozzle well away.
Rotted wood is another red flag. If trim or siding is soft to the touch, water at any meaningful pressure will make it worse. Probe suspect areas with a screwdriver before washing. Soft spots need to come out and be replaced, not cleaned.
Finally, watch out for exterior electrical fixtures, dryer vents, and HVAC intake covers. Direct spray into any of those causes problems that have nothing to do with paint. Mask them off or work carefully around them.
DIY vs hiring a painter who includes it
Renting a pressure washer runs $60 to $100 a day in San Diego. That’s a reasonable option if you’re comfortable with the equipment, have time to do it properly, and understand the dry window before you schedule your painter.
The catch is coordination. If you wash on a Saturday and your painter shows up Monday, a coastal weekend with marine layer may not have given the stucco enough time. You either delay the job or you push it, and that’s when mistakes happen.
Most homeowners find it cleaner, in every sense, to hire a painting crew that handles pressure washing as part of the prep sequence. The wash is scheduled with the paint job in mind. The dry time is built into the timeline. The crew knows what surface conditions they’re walking into on primer day.
It also means one contractor is accountable for the full result. If paint fails due to surface prep, there’s no debate about whether the homeowner’s DIY wash is to blame.
Before hiring anyone, verify their license at the CSLB license lookup. A C-33 painting contractor license is what you’re looking for in California.
When to call us
If your home has visible mildew, salt staining, or cracked stucco that needs attention before paint, those aren’t problems a garden hose handles, and they’re easy to make worse with the wrong pressure or technique. Call us at (858) 925-5546 for a same-day estimate. We’ll assess the surface, handle the wash on the right schedule, and make sure the walls are actually ready before primer touches them.